Adding Documents
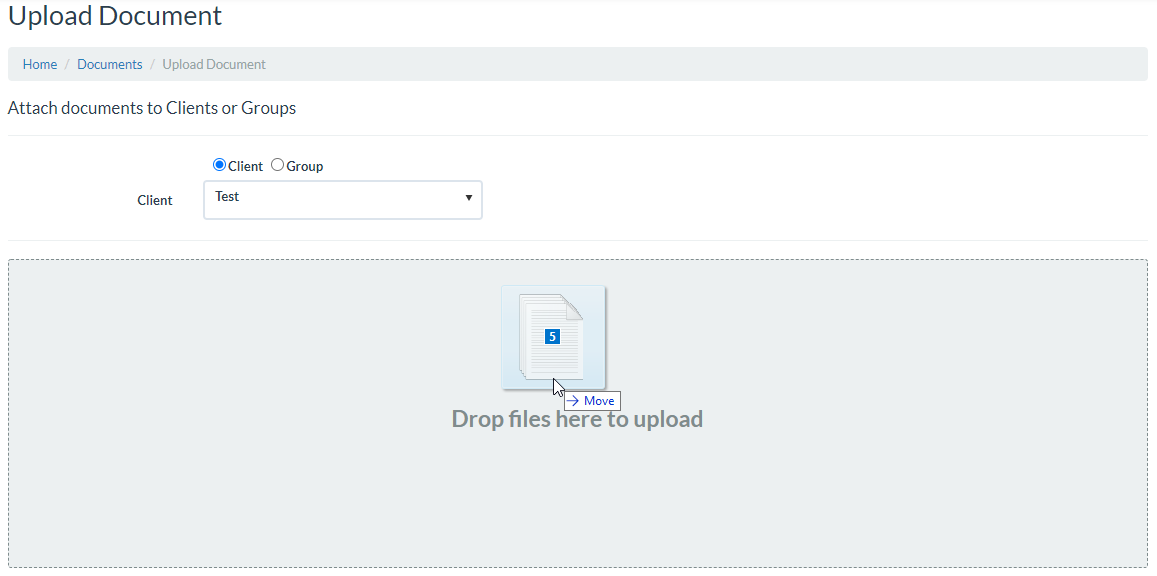
The Documents app allows you to upload files. You can upload a single or multiple files to a Client or Group either by selecting a single file from your computer or drag-and-drop.
- From the Documents app, click on the Upload Documents button

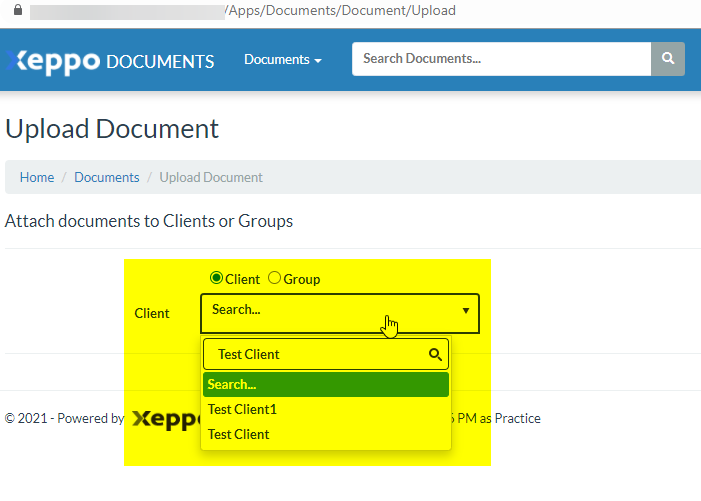
- Then, select the Client or Group to add the document. You can use the drop-down field to search and select the correct entity.

- After selecting, Documents table will appear. On this table, you can:
- Click on the Upload Documents button to select a file to upload or;
- Click on the icon that Display results in a grid to the right-side of your screen.

If you wish to upload a single file, click on the Upload Documents button and choose a file from your computer. If you wish to upload multiple files, then set the display results in a grid then select all the files you wish to upload and drag to the grid layout.

Depending on your access permissions, you can then Edit or Delete the uploaded files.
Document Categories
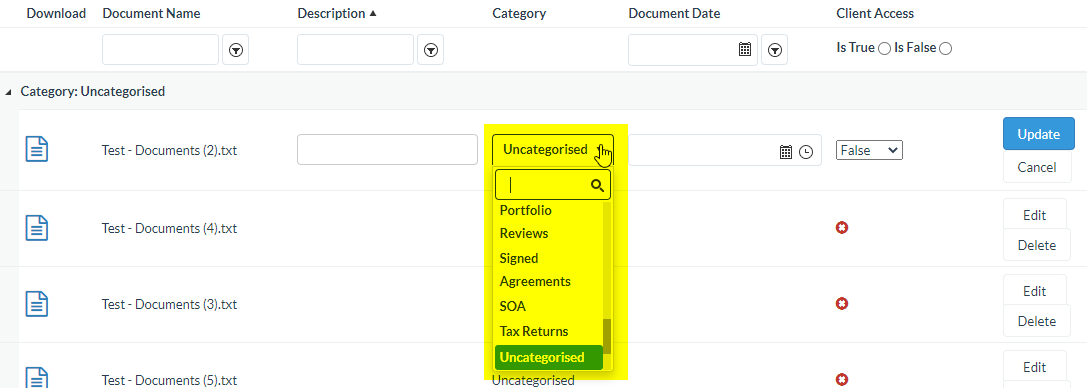
Xeppo can categorised documents. Categories are setup by your Xeppo Administrator. When uploading a new document, Xeppo sets the file to an Uncategorised label by default.
To set add a category to a document upload, click on the Edit button

The Edit button displays options to update the Description, Category, Document Date and Client Access of a specific document. Ensure to click on the Update button to save changes.

Filtering Options
The categories are viewable by clicking on the All button. The button also acts as a filter to only view a specific category. You may also click on the funnel icon for a more advanced filtering option.
Document Download
If you wish to download or open a document, click on the document file icon and the download starts:


Comments
Article is closed for comments.